Authentication (REST API)
Learn how to authenticate with the REST API by generating and using an access token.
In order to access the Ironclad Clickwrap REST API, you’ll need to add an access token as an HTTP authorization header to every API request. Below, you'll find how to create and use an access token for the Ironclad Clickwrap API.
Please Review the Important Notes SectionPlease review the "Important Notes" section before beginning to use your access token!
Create an API Access Token
Visit Your User Profile
Visit your User Profile by clicking on your initials in the bottom left of the page to open the navigation modal and then selecting “User Profile” at the top.

Visit the User Profile page by clicking on the "User Profile" link.
Create a New API Application
Next to the “API Keys” header, click on the plus sign to open the “Register an API Key” modal.

Click on the plus sign to open the modal.
With the "Register API Key" modal open, give your API application a name and a description of what you plan to use the access token for. You can then click “Register” to move on to the next step.

"Register API Key" modal open.
Once you have clicked "Register", a client secret and access token will be generated and displayed in a modal.
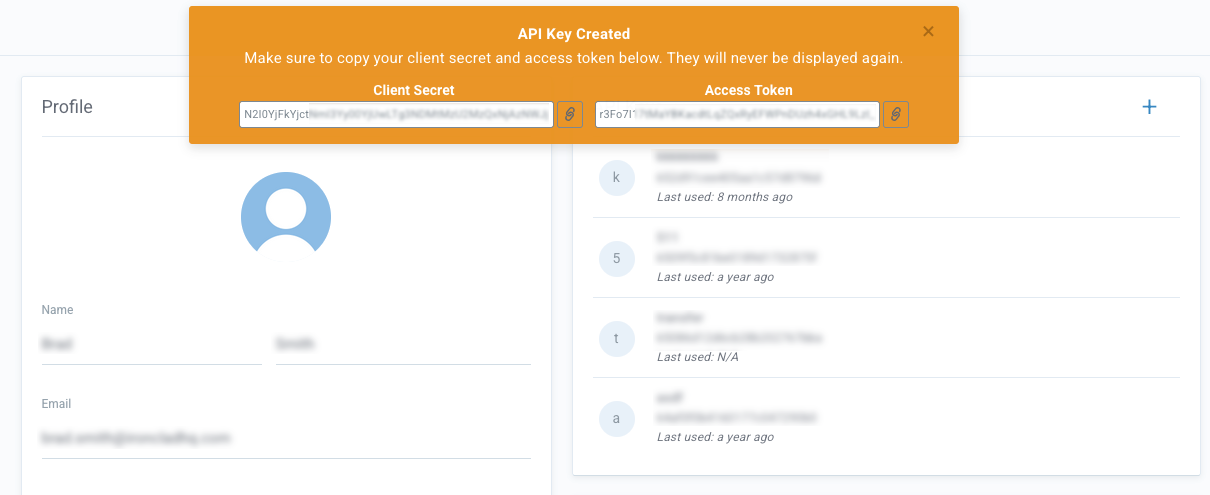
Generated keys modal open.
Be sure to copy your client secret and access token. These values will not be displayed again and cannot be retrieved after this modal is closed.
Alternatively, you can also generate your access token programmatically via the REST API with this endpoint.
Using Your Access Token
When making a request to the API, you’ll need to add the access token as an Authorization HTTP Header. It should look like the following:
Authorization: Bearer YOUR_ACCESS_TOKEN
Example of the access token being used in Postman when manually added as an HTTP header.
Important Notes
Access Token and User Permissions
The API access token is tied to the user who generated it. This means:
- Access tokens must be created by a user with the appropriate site permissions. For example, the user associated with an access token must have “create” permissions to create resources via the API.
- When a user is removed from the site, all existing API tokens will by default be transferred to the site's owner—if one exists. If no site owner exists, the removed user's API tokens will be decommissioned. Consider using a persistent service account to create API tokens.
Best Practices
API Requests Must Use HTTPS
API requests must only use HTTPS (SSL). Attempting to use without SSL will not succeed and should not be used.
Secure Your Access Token
Please keep your API key secure! Do not use your API key within client-side code. Additionally, do not share them publicly or store them in any git repositories.
Rotate Your Access Token
Since access tokens are generated using OAuth 2.0, you have the ability to rotate your keys at your own discretion via the API.
Updated 10 months ago
What’s Next
Now that you've got your access token for the REST API, you can do all sorts of stuff. Try getting started by creating a new Request for signature.