Salesforce Integration (via Zapier)
Overview
This guide provides a framework for integrating Ironclad Clickwrap and Salesforce, utilizing Zapier as a middleware tool.
This guide will walk through how to write Ironclad Clickwrap data back to Salesforce once a Contract has been signed or agreed to. This option will use Zapier's connectors with Ironclad Clickwrap's Webhooks and Salesforce.
Requirements
Ironclad Requirement
- Ironclad Clickwrap Account: Add a template to a group and publish the group. The acceptance of this contract will trigger a new Salesforce record.
- Webhook Access: Webhooks will be created on the Ironclad Clickwrap Site integrations page.
- Reference: Please see Ironclad Clickwrap's Webhooks documentation for the most up-to-date details on webhooks.
Zapier Requirement
- Premium Apps are required. Visit Zapier's documentation for Salesforce integration.
Salesforce Requirement
- A Salesforce account is required along with a user with the correct read/write permissions on the desired Object.
Setup
Zapier Setup
Create a new Zap
To get started on building integration with Ironclad Clickwrap and Salesforce, start within Zapier and follow the steps below:
- Create a new Zap and select "Webhooks by Zapier" as your Trigger.
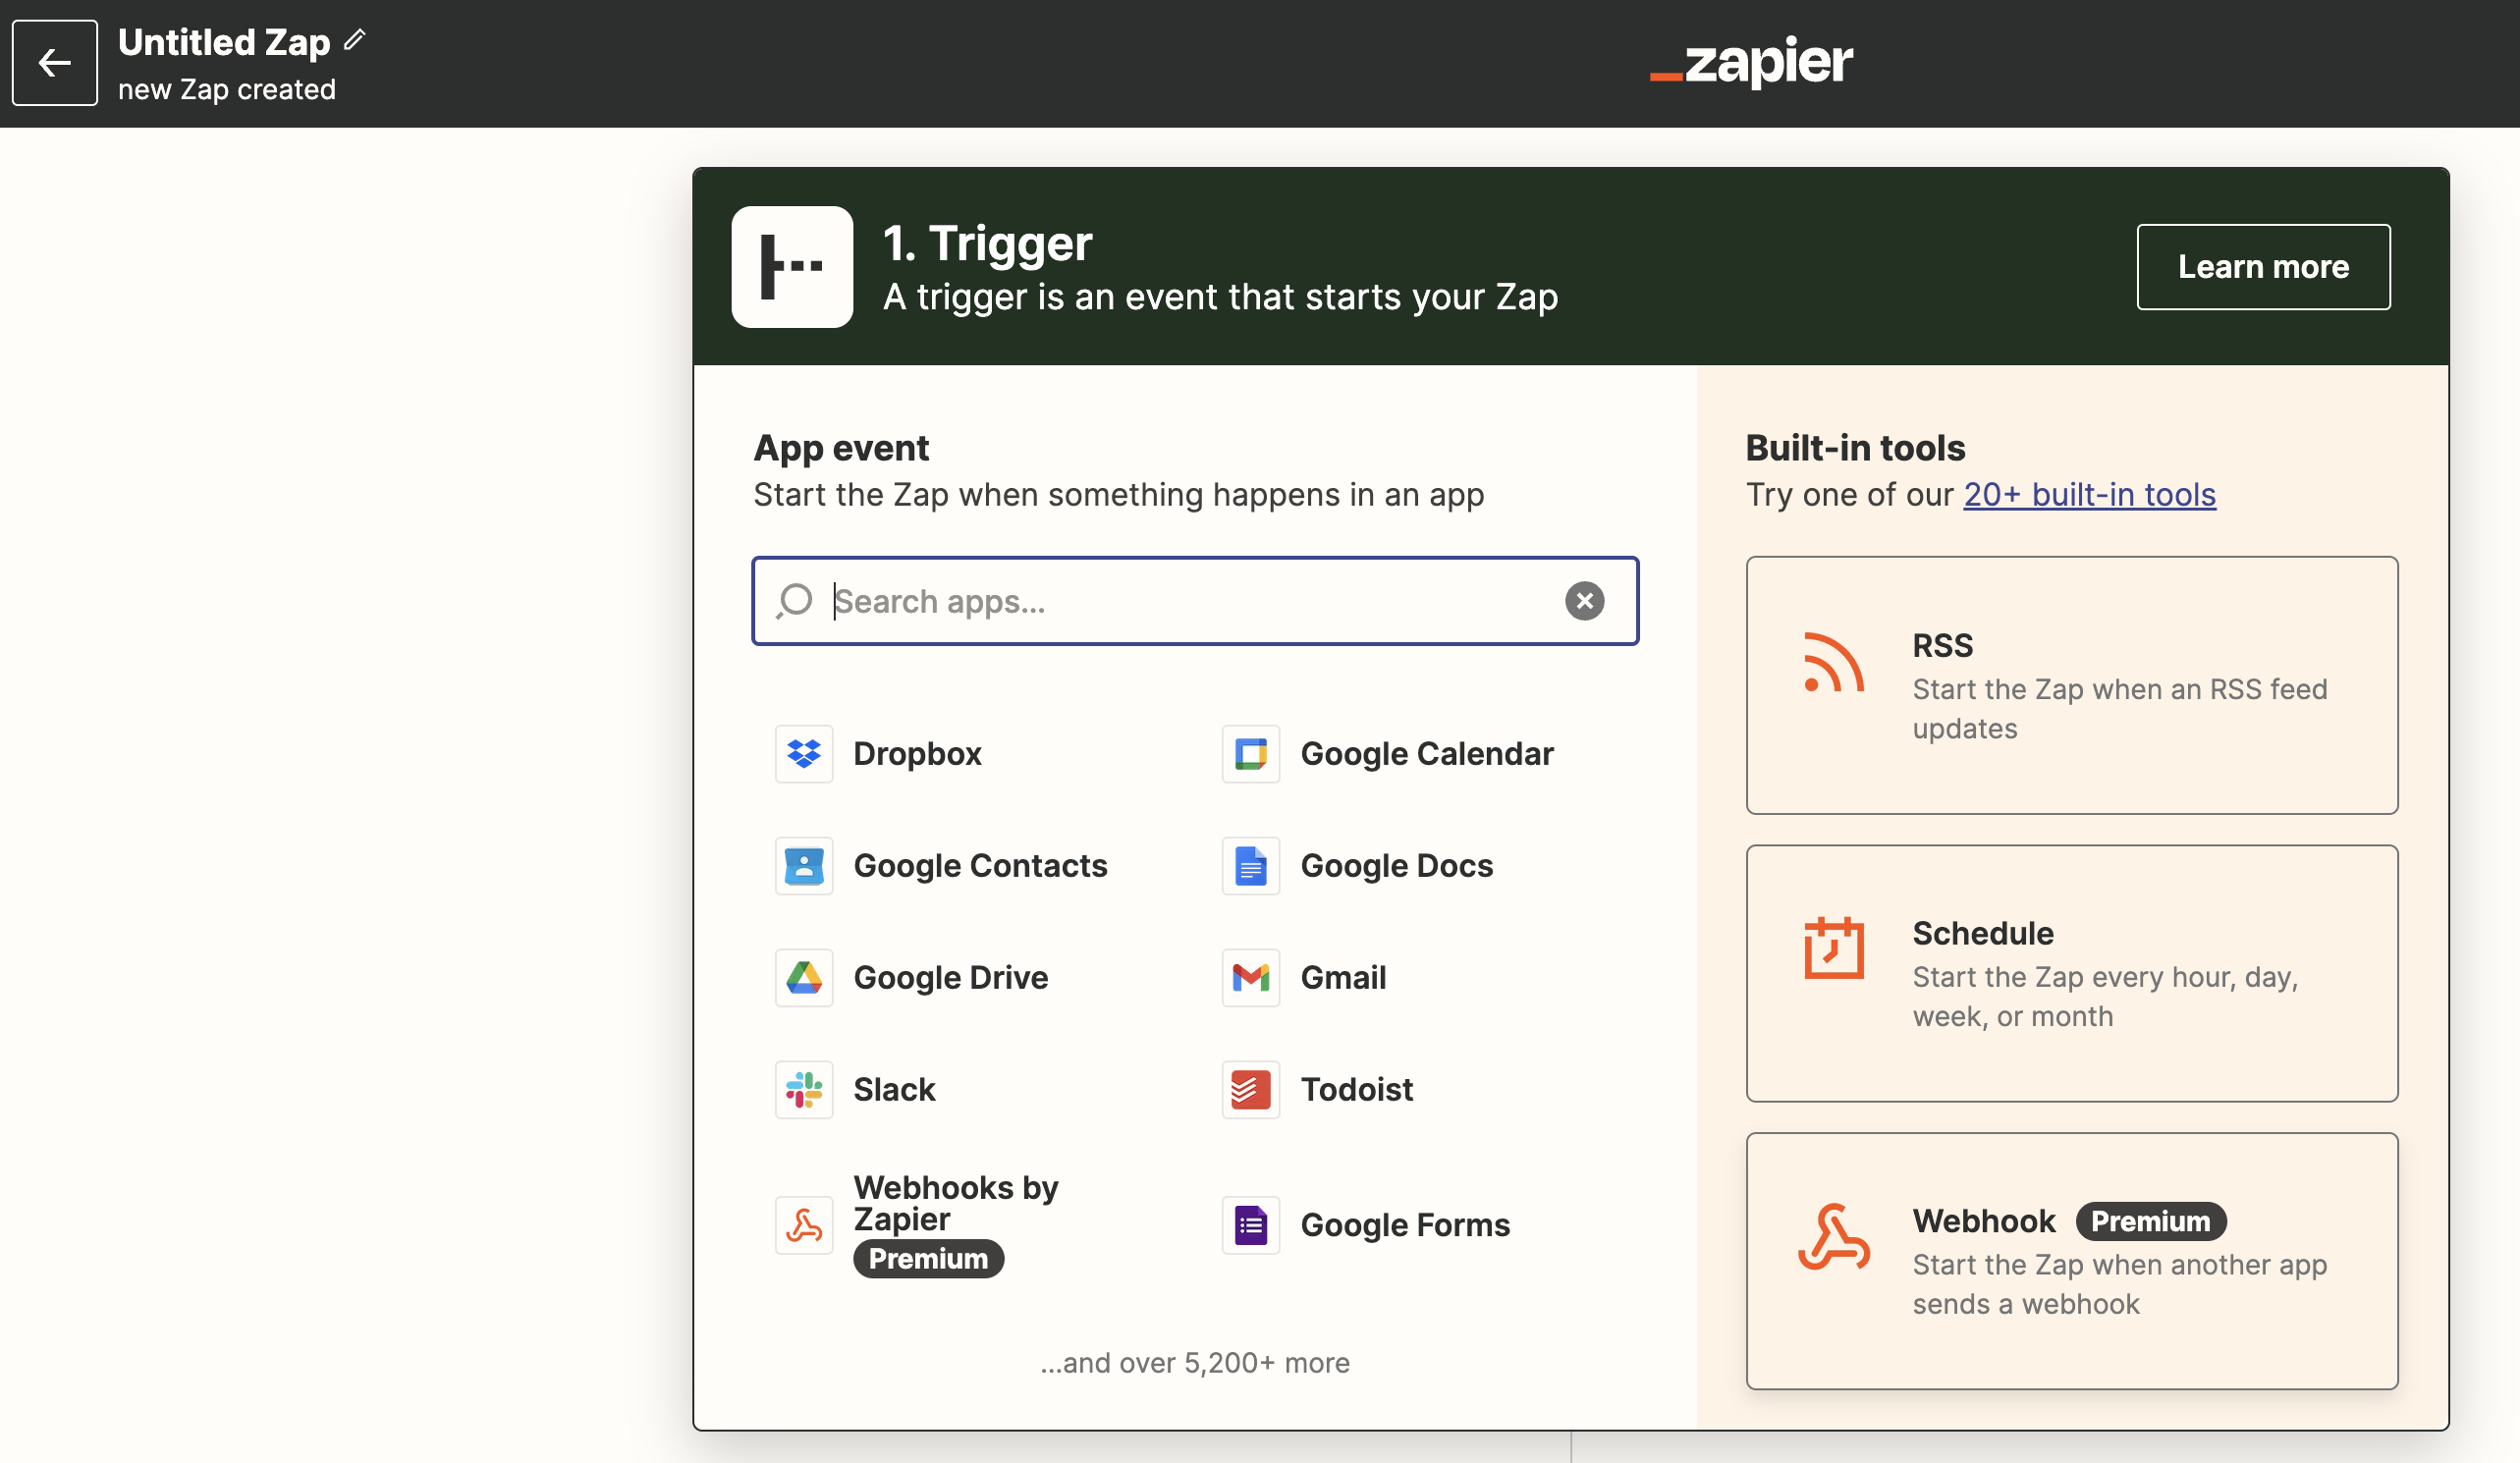
- Select "Catch Hook" and press "Continue"
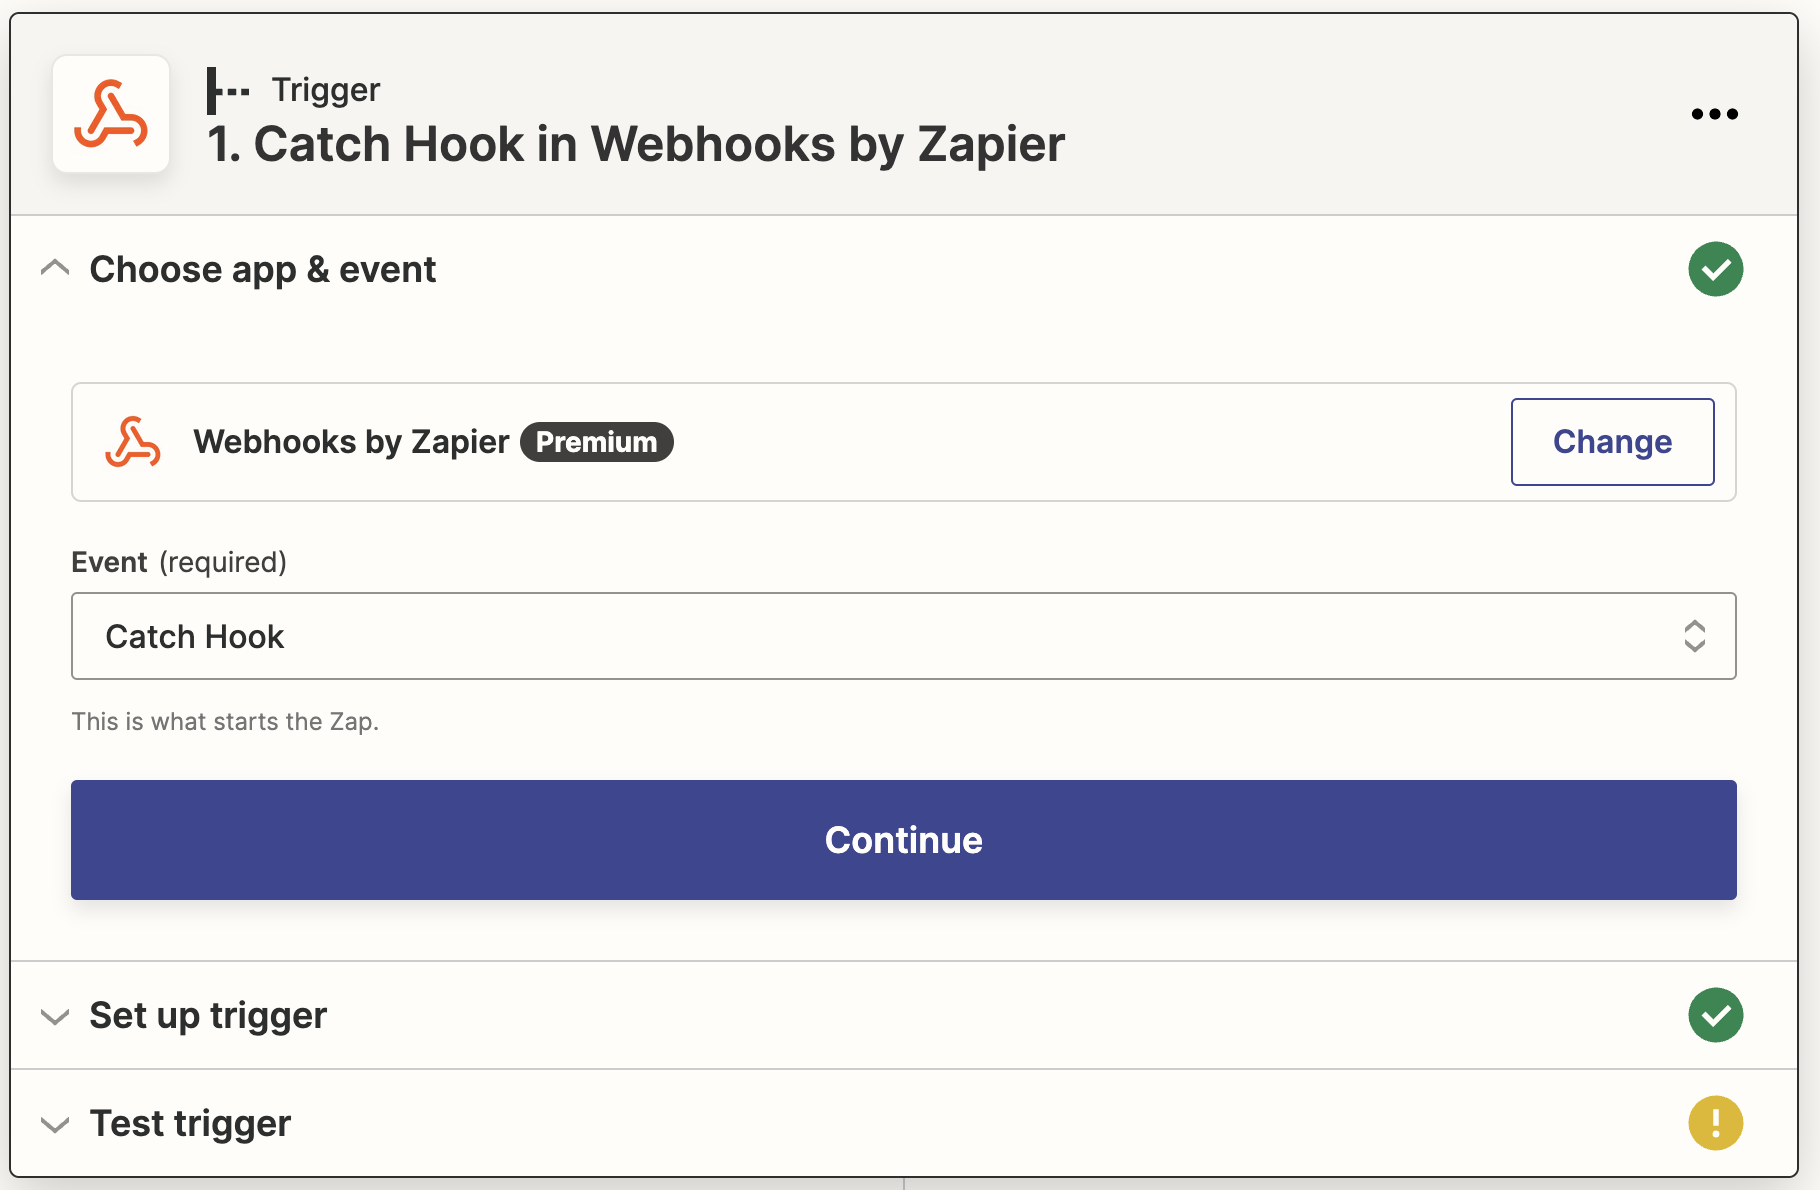
- Click "Continue" again (there's no child key)
- Copy the webhook URL to your clipboard!
Ironclad Setup
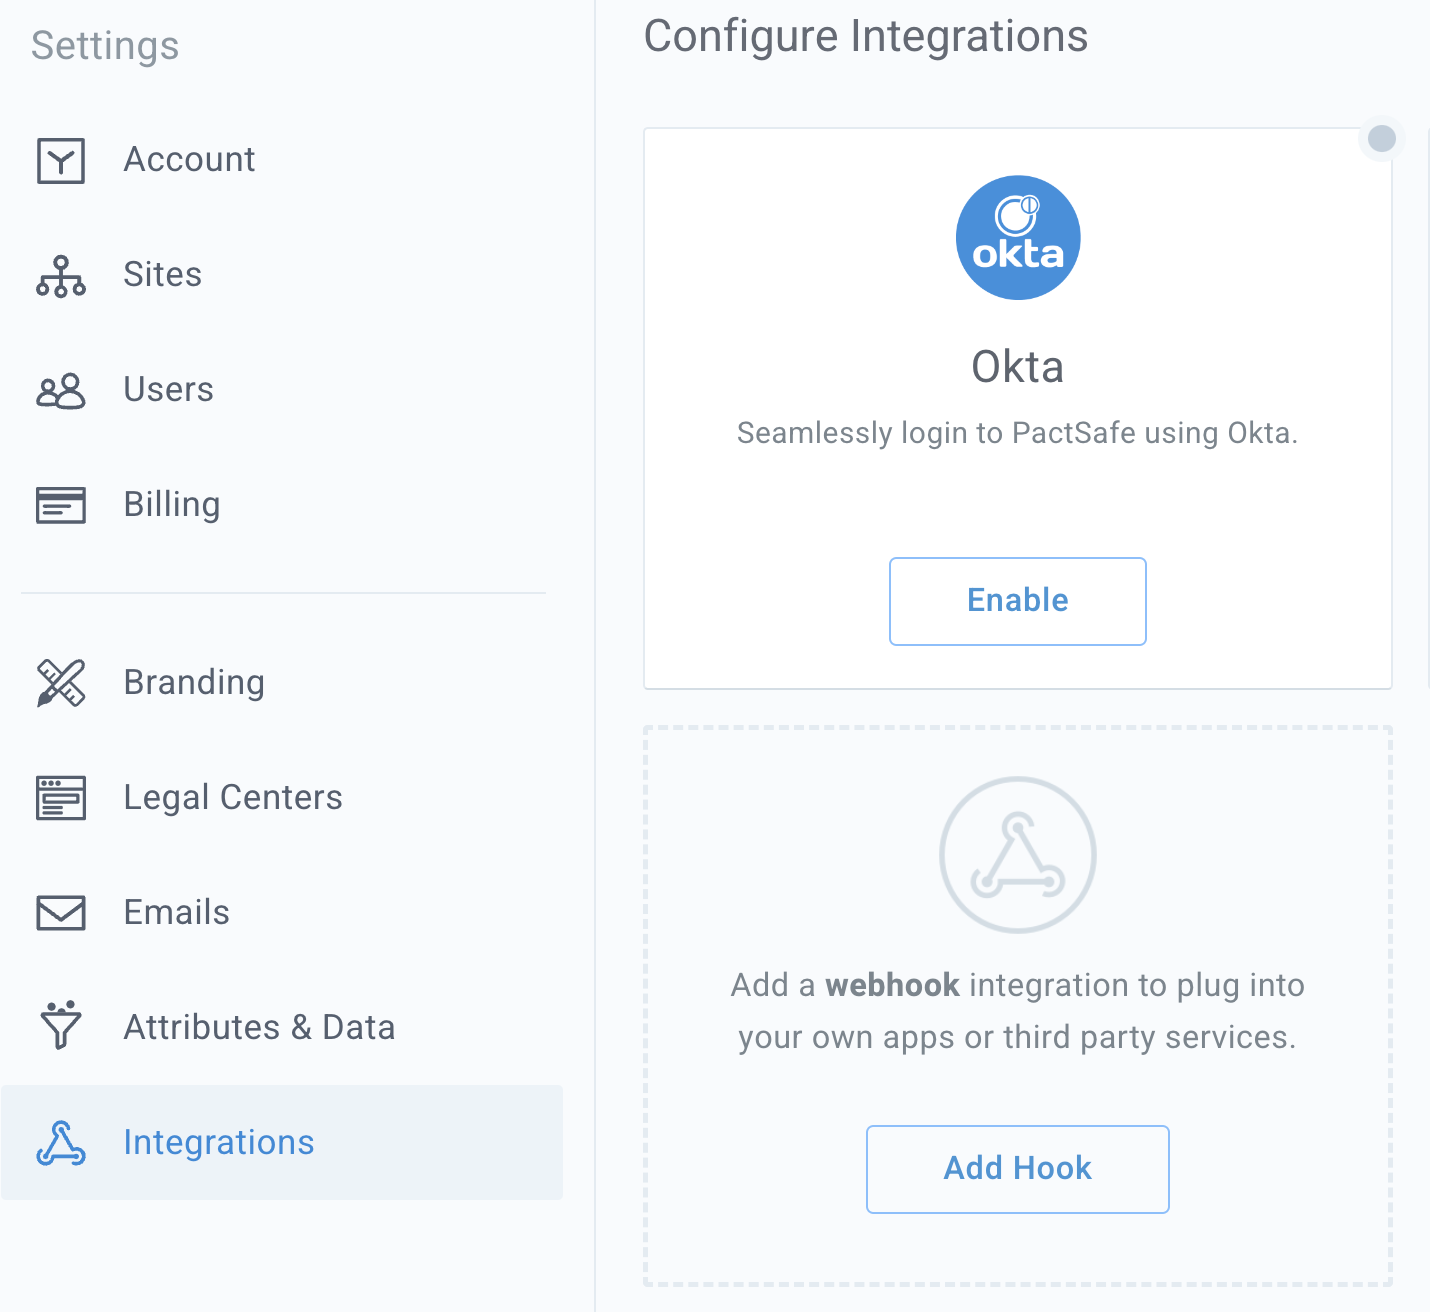
Now that you have a webhook URL, you'll be able to start creating a Webhook within Ironclad. You can get to Webhooks in Ironclad Clickwrap by going to Settings > Integrations.
For this example, we're going to set up a Webhook for when any contract is agreed upon.
- Click "Add Webhook" in Integrations
- Paste in the URL you copied to your clipboard from Zapier
- Use HTTP "POST" when setting up your webhook
- Select the toggle for "Activity - Agreed"
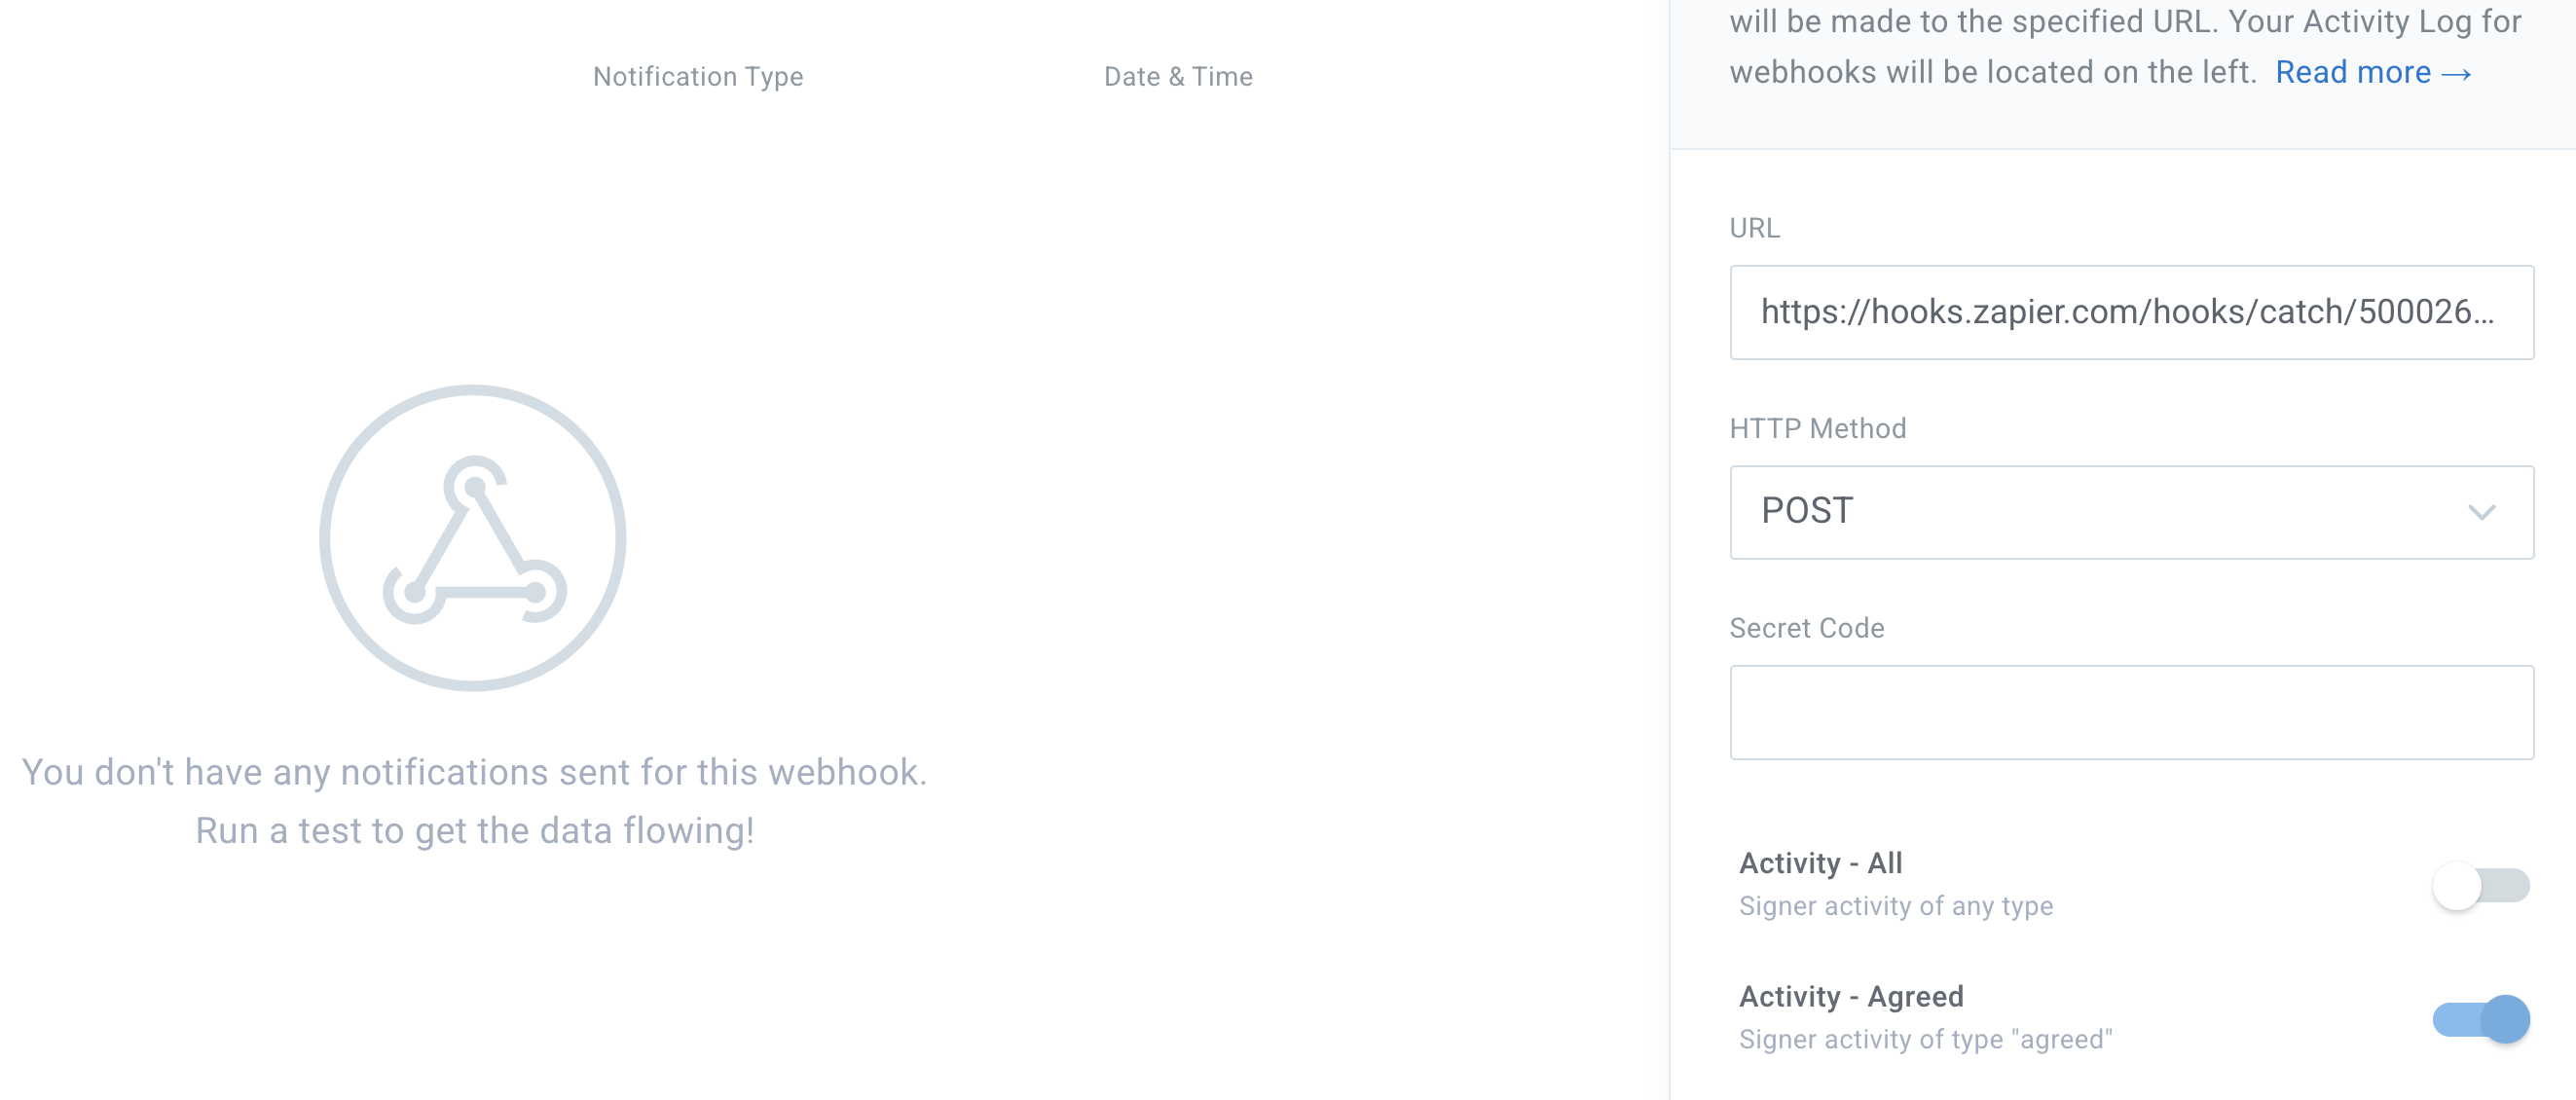
To test the Webhook with the data, press "Save" and "Test Webhook". You will now see a test notification under "Test Notifications" on the left panel. This will send a test event to Zapier and the Zap that was created.
Test Webhook in Zapier
After you've sent a test from Ironclad, you can go back to Zapier and click "Test trigger" and you should see the green checkbox confirming the Webhook successfully triggered in Zapier.
Create a Filter in Zapier (Optional)
You can create additional actions like filters prior to connecting to Salesforce. Creating a filter step will allow you to set up criteria to use a specific set of Clickwrap agreements.
For example, you can filter a specific Clickwrap Group so that only Order Forms will create a record with Salesforce and regular Sign Up Clickwraps will not create a record.
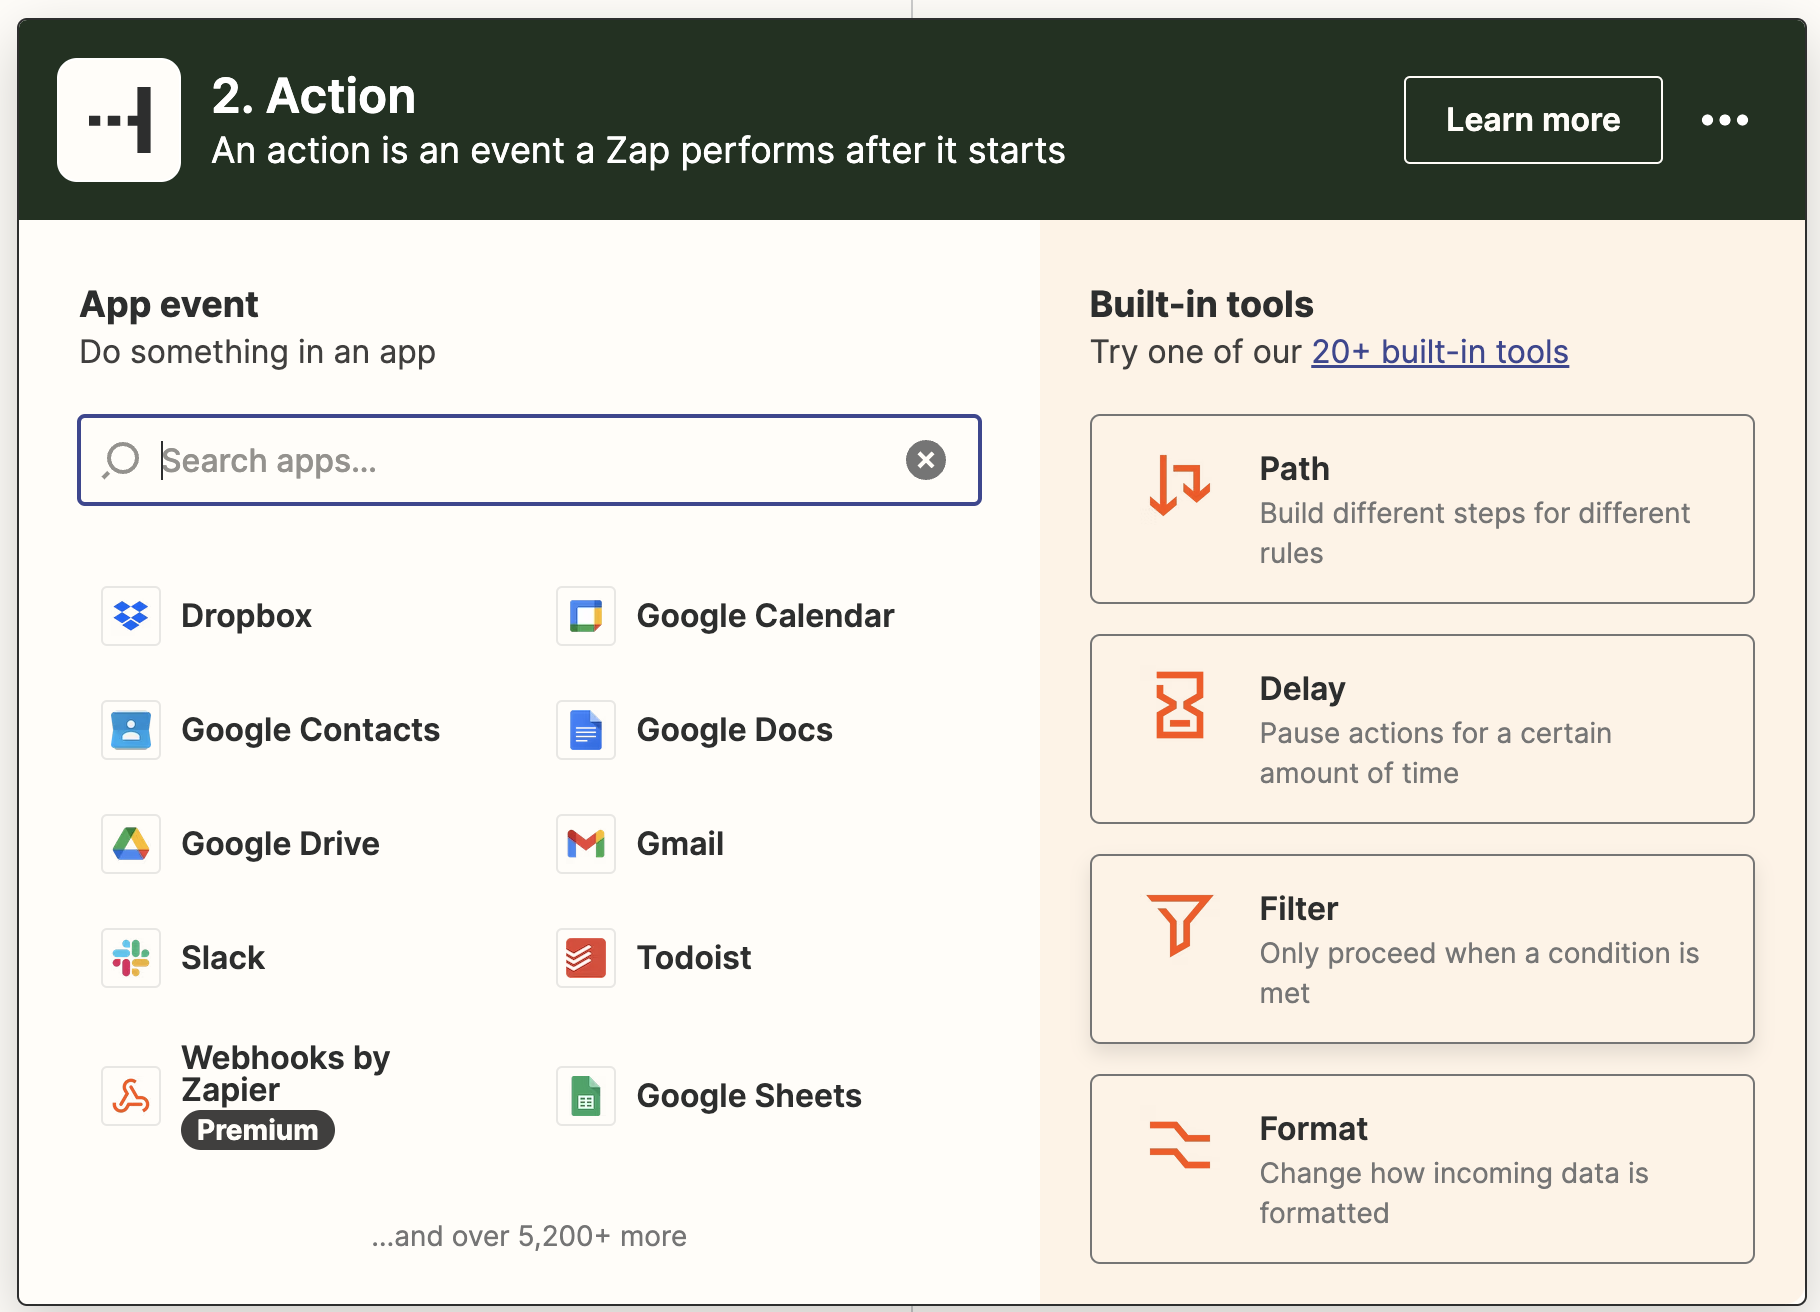
- Add a new Action and select "Filter"
- To create a criteria, select a data field like "Groups".
- Choose "(Text) exactly matches" for condition.
- Then input the Group number.
- Press "Continue".
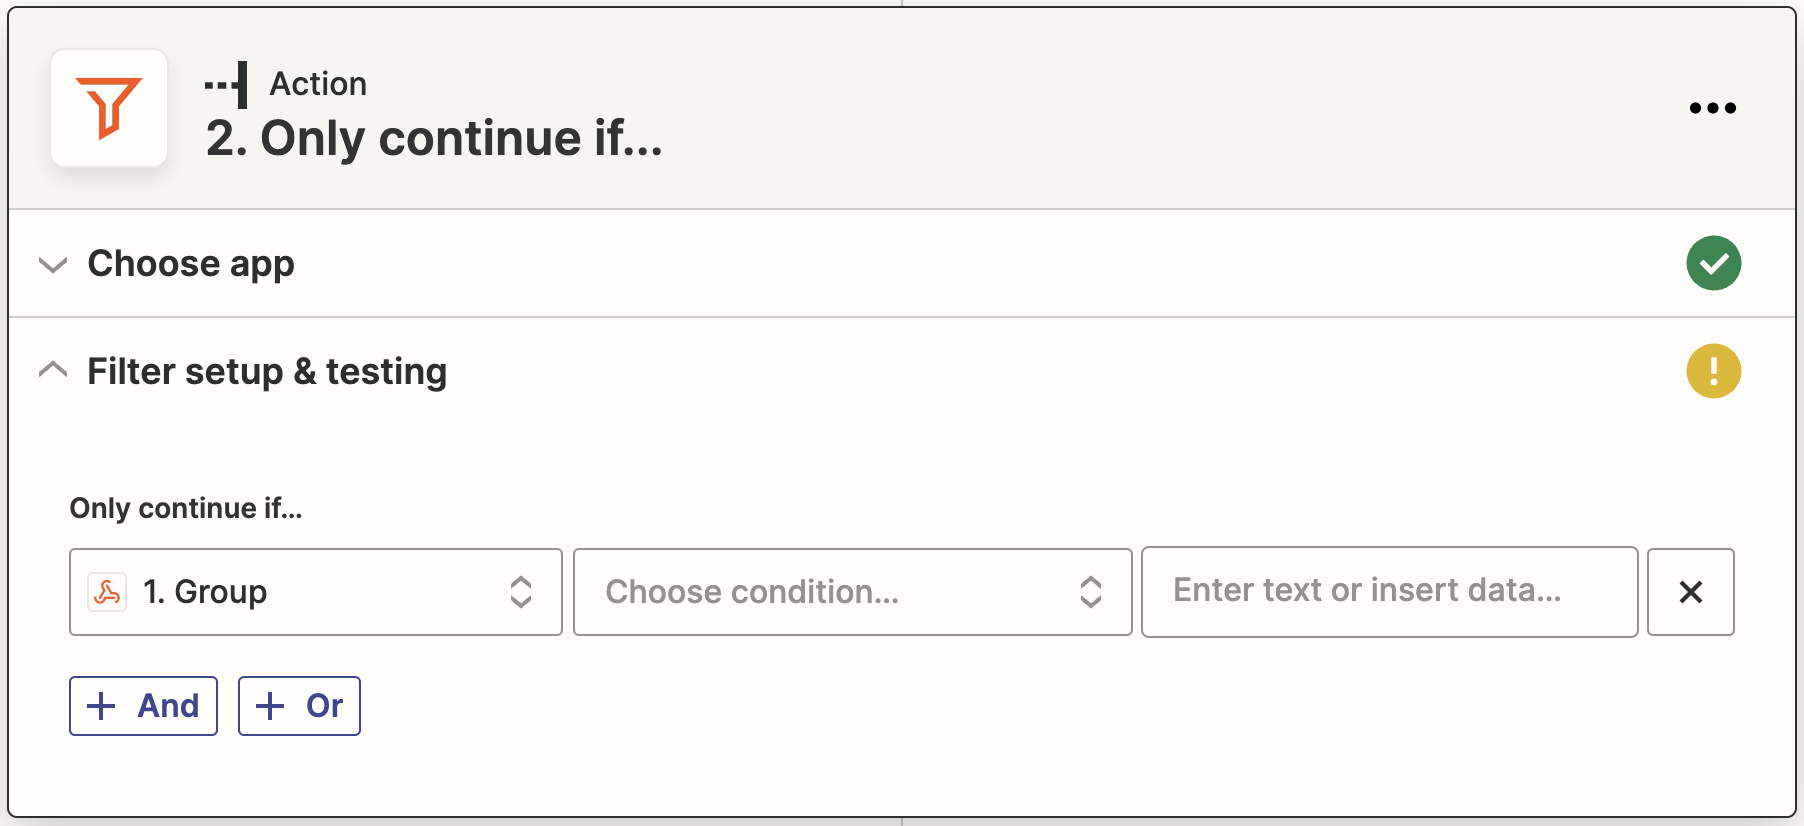
Only clickwraps agreed with the criteria will move forward to the next step in Salesforce.
Create a Salesforce Action in Zapier
The final step is to create a Salesforce Action in Zapier which will create a new lead for each Agreed Clickwrap.
Here's a quick example of how you can create a new Lead when for an "agreed" Clickwrap event:
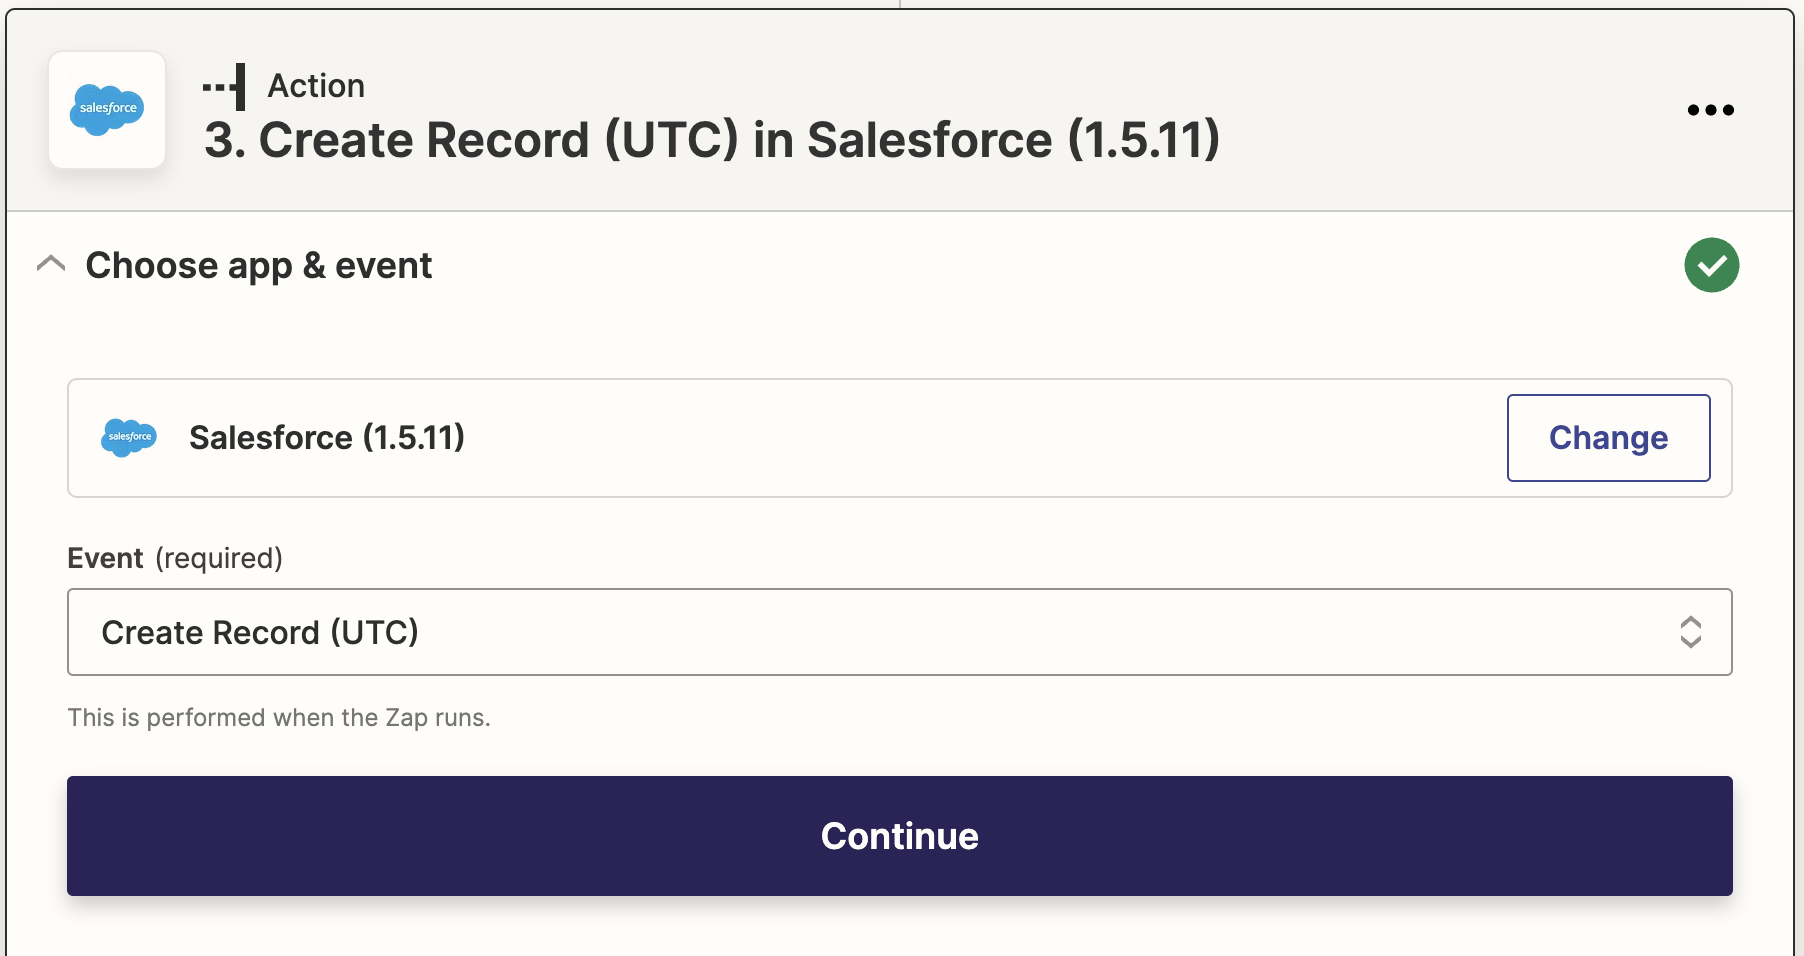
- Create a new Action
- Search and select "Salesforce"
- Select "Create Record" for the event
- Press "Continue"
For the next step, log into your Salesforce account and ensure your profile has the right read/write permissions.
After connecting Salesforce, you will be able to select a specific Object.
Under Salesforce Object, pick "Lead" to create new records under the Lead Object. You can also use another Object if necessary.
Zapier will automatically pull all the fields under the "Lead" Object. All required fields will need a value or a field mapped over.
You can map over a field from the Ironclad webhook with the following steps:
- Click into the empty box for each field
- Select "1. Catch Hook in Webhooks by Zapier"
- Select the available data options from the webhook.
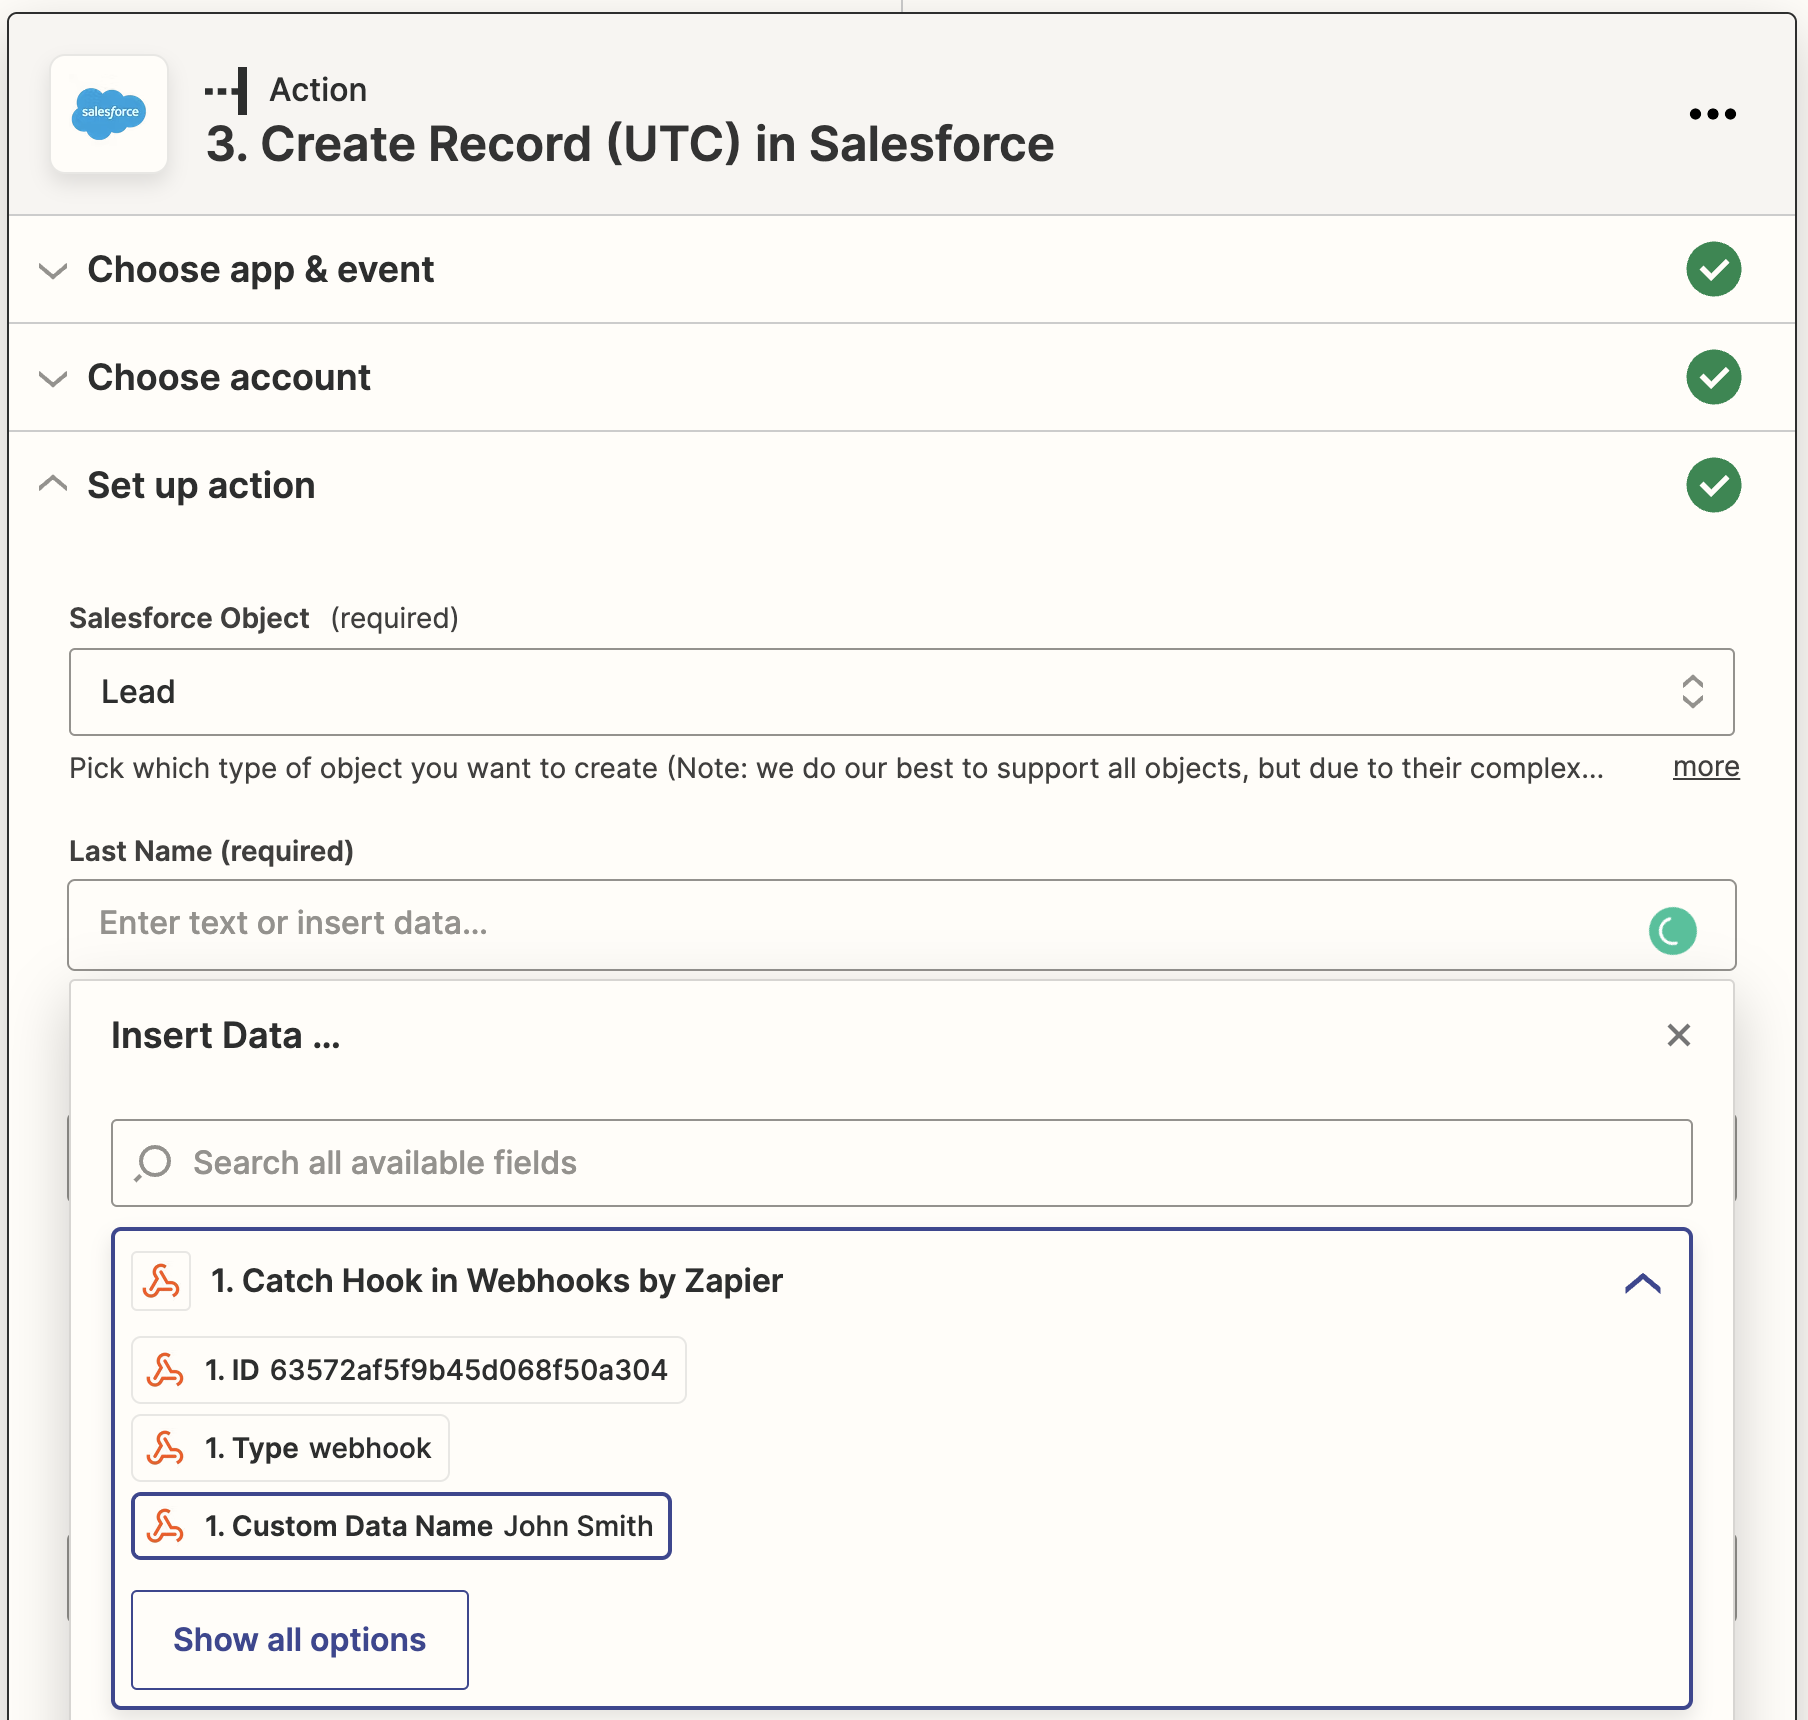
Repeat the mapping exercise for all the required fields.
Finally, press "Continue" and Test the Action.
The test will automatically create a fake Lead in Salesforce and you can now Publish your Zap.
Updated 5 months ago
