How to Add a Terms of Use Clickwrap to a Sign Up Page
This step-by-step guide will teach you how to load a Terms of Use Agreement to a sign-up page.
Estimated time to complete this guide: ~5 minutes
Prerequisites
- Webpage with a signup flow (Codepen sample page)
Step 1: Upload a Template
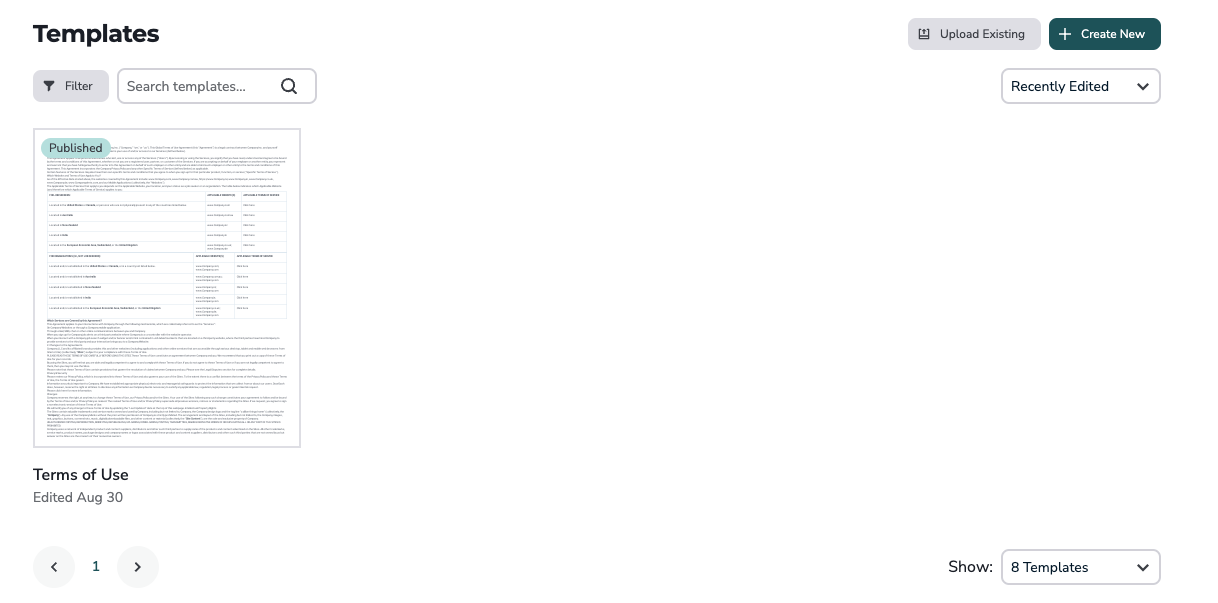
Sign up for an Ironclad account to start tracking clickwrap acceptances. Let's navigate to the template tab to add a Terms of Use agreement. Select "Create New" to start a new template.
Name your template “Terms of Use” then drag and drop a .docx file of your template. Select "Save" and then press "Publish".

Step 2: Create a Clickwrap Group
A Group is a collection of Contracts that is presented to a user. For example, you pair privacy policy and terms of use together in a Group and ask your end users to accept them.
To create a group, navigate to the "Clickwraps" tab. Click on the "Create Clickwrap" and then give your group a name like "Sign Up" on the top left.
Under the templates section, pick the Terms of Use. Press "next" on the top right to configure how the clickwrap will be displayed.
Under presentation options, you will be able to preview the different styles available for clickwrap. Select the "Combined checkbox for all Templates". After you are finished, press "Publish".

Step 3: Set up Configuration Snippet
Loading clickwrap agreements to your webpage is as simple as copying and pasting a few lines of code.
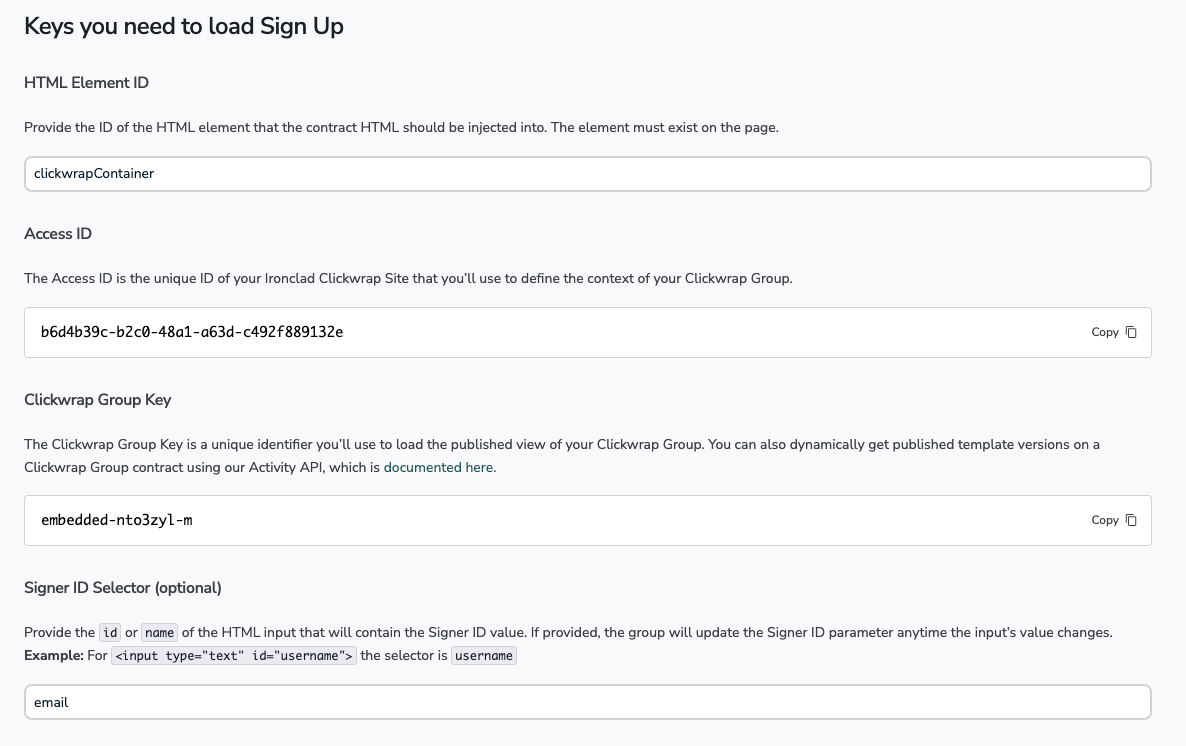
Navigate to "Clickwraps" in the main tabs. Then select "Sign Up" clickwrap group and click on the "embed" tab to grab the required code.
To speed up the setup, IDs can be prepopulated into the snippet. The first input is the HTML Element ID where the contract HTML should be injected to. Fill in "clickwrapContainer" in the first box.
The second input is the Signer ID Selector, typically the email or username field ID. Fill in "email" into the box.

These two inputs will automatically be populated into the required code to be pasted into your webpage. Copy the code snippet under "Loading the Clickwrap Group".
For additional context, see developer documentation.
Step 4: Loading Clickwrap to your Webpage
Paste the generated code into the header of the webpage.
In order to display the clickwrap agreement on the webpage, add an empty DIV element to the appropriate location within your HTML. This DIV element ID will be connected to the container selector used in the previous step.
Add the code below and replace "HTML_ELEMENT_ID_HERE" with the HTML element ID which was "clickwrapContainer".
<div id="HTML_ELEMENT_ID_HERE"></div>Step 5: Pass Signer Information
An Acceptance Activity Record is created after a user accepts the clickwrap. This will include information on the acceptance, user, and ability to download a PDF of the record.
Additional information on the record can be passed through using 'custom_data'. This includes user input like name, email, and company name.
Also, user input data can be passed to a Signer Record. The Signer Record is a specific profile for a single user that will hold all clickwrap activities.
Copy the code below to your sign-up page and replace the value for name and email.
// We're setting custom data when the signer_id is set here.
_ps.on('set:signer_id', function(value, context) {
  setCustomData();
});

function setCustomData() {
  var fullNameVal = document.getElementById('FULL_NAME_ID').value;
  var emailAddressVal = document.getElementById('EMAIL_ID').value;
  // Set custom data that gets sent on acceptance.
	var customData = {
    full_name: fullNameVal,
    email: emailAddressVal
  };
  _ps('set', 'custom_data', customData);
}
Congrats! You just deployed an agreement to your webpage.
To test the process, let's navigate to your sign-up page and input your information. Check the box for the clickwrap agreement. The acceptance will be tracked on the Activity tab.
Updated 5 months ago
