Getting Started with Webhooks
Learn about webhooks and how events are triggered for your Site
Webhooks allow you to automate custom backend actions and downstream processes in response to acceptances that are logged in Ironclad Clickwrap. As Ironclad Clickwrap is usually integrated into existing customer flows - ie. checkout flows, user signup - we can take advantage of webhooks to ensure this information is passed on to relevant systems.
Setting up your Ironclad Clickwrap Webhook
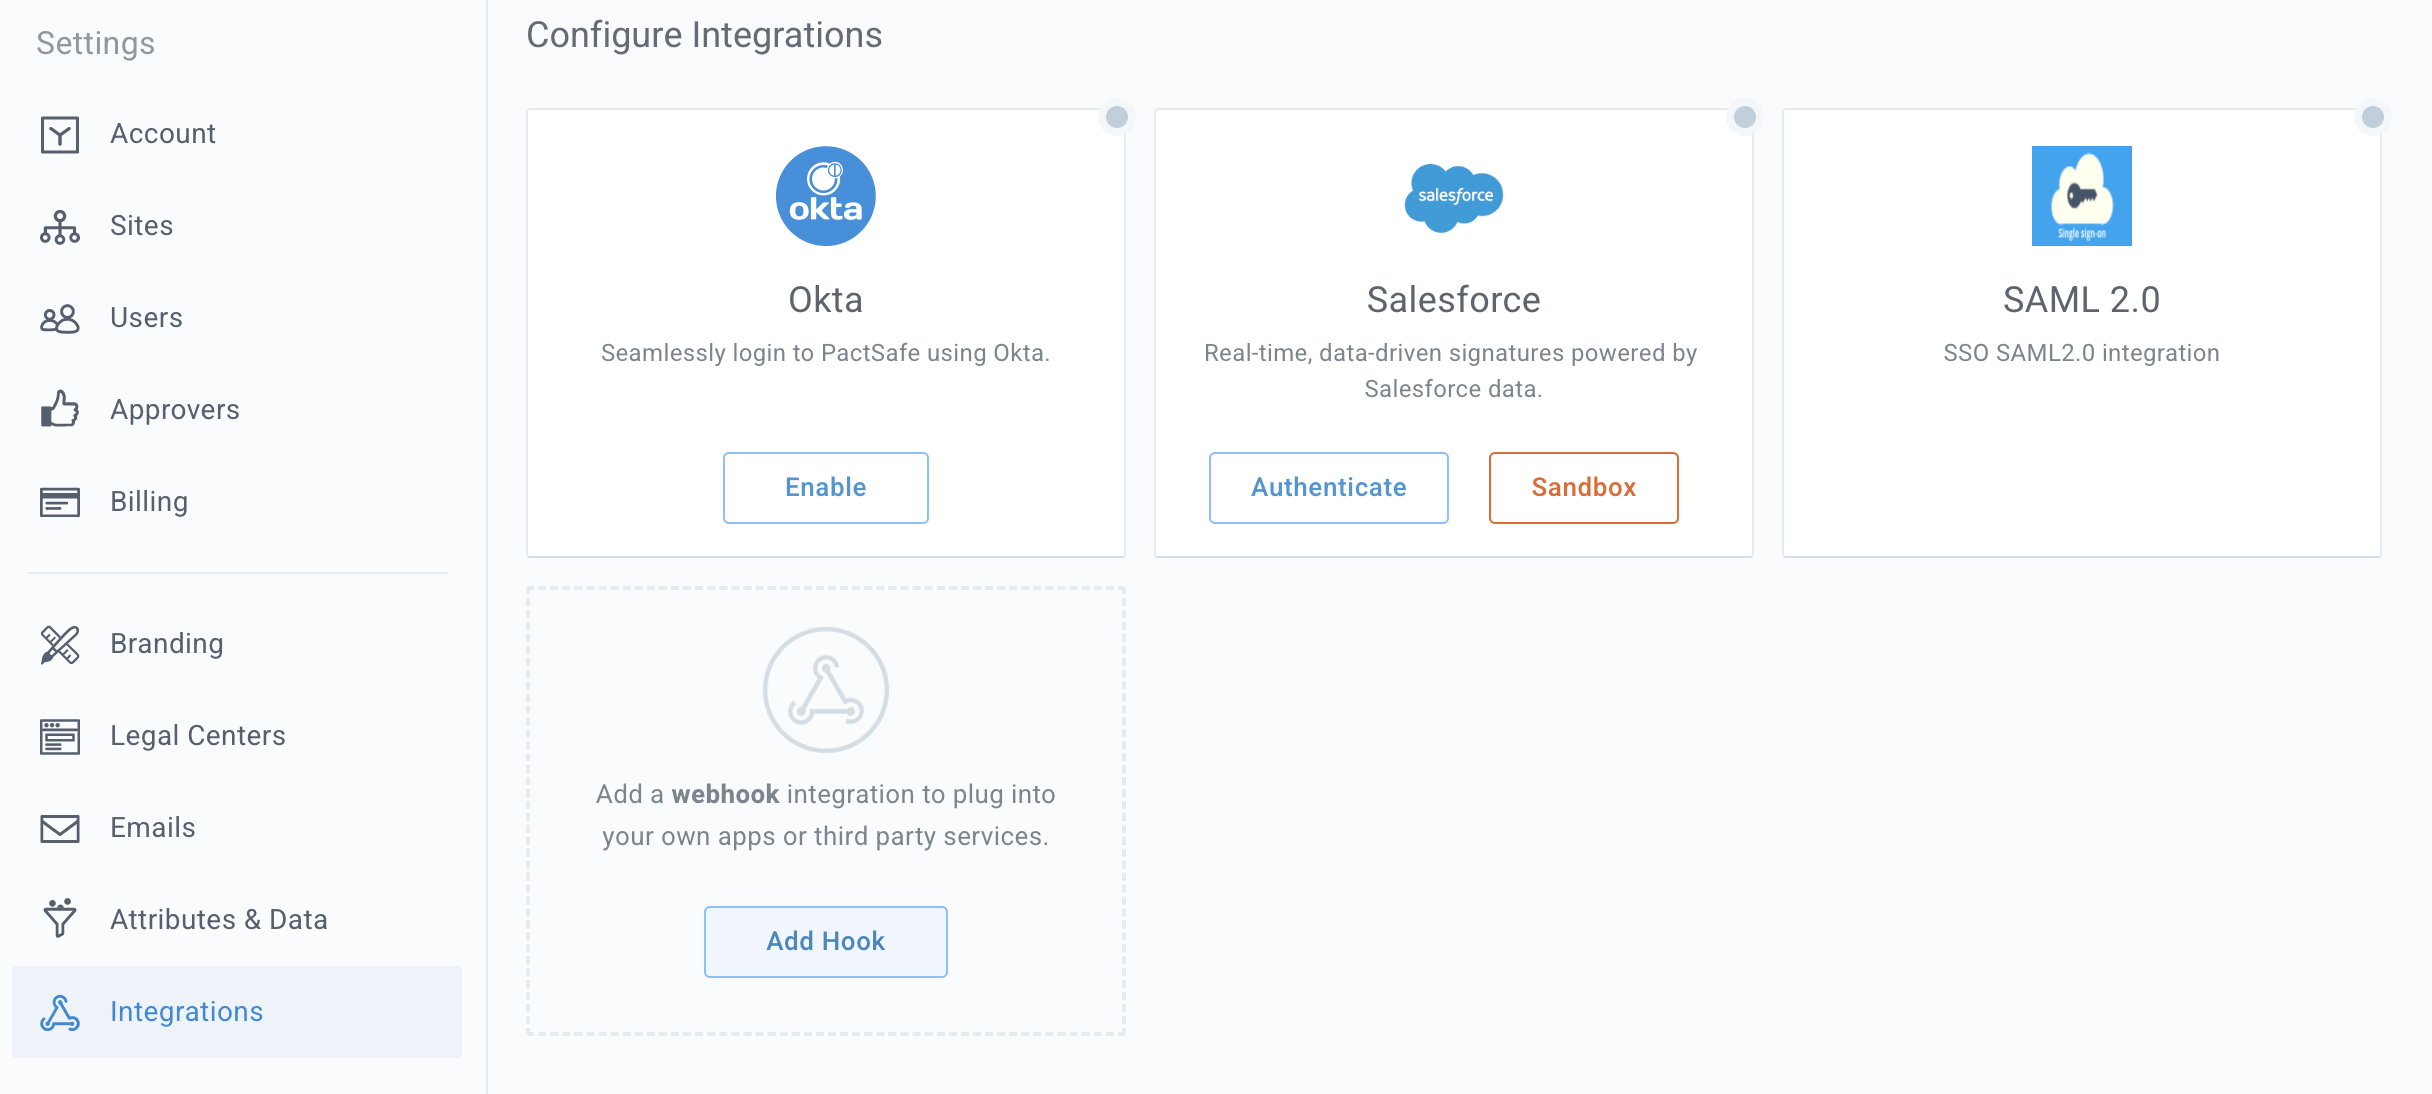
Login to your account and navigate to Settings > Integrations. If you don't have Integrations enabled in your account, please contact your Implementation Consultant or our Support team at [email protected] and we'll help you out!
Use the following steps to configure your Ironclad Clickwrap webhook:
- Click Add Hook on the Integrations page.
- Name your Webhook.
- Add your webhook endpoint’s URL in URL.
- Set to the HTTP Method to GET or POST.
- Select the event types you want to receive notifications for.
- Click Save.

A view within the Ironclad Clickwrap Web App of the webhook configuration interface.
URL
In the URL field, define where you want Ironclad Clickwrap to forward events. For testing purposes, you can set up a local webhook host (eg. ngrok).
HTTP Method
We generally recommend going with POST as some additional data may be passed. We will pass parameters for the Webhook as query string variables in GET and a request body with POST. The examples for this Guide are POST.
Secret Code
The secret code allows you to create a more secure connection to the Webhook. We'll pass the secret code in an HTTP Header called Pactsafe-Webhook-Token. This field is optional and only necessary for an extra level of security and confirmation that the webhook is coming from the Ironclad Clickwrap platform.
Webhook Event
Select the event that you want to be notified about - here is an exhaustive list of all available webhooks and example payloads.
Updated 4 months ago
