Salesforce Integration (via Salesforce Apex)
Overview
This guide provides a framework for integrating Ironclad Clickwrap and Salesforce with Salesforce Apex.
This guide will walk through how to write Ironclad Clickwrap data back to Salesforce once a Contract has been signed or agreed to. This option will use Salesforce Apex with Ironclad Clickwrap's Webhooks and Salesforce.
Requirements
Ironclad Requirements
- Ironclad Clickwrap Account: Add a template to a group and publish the group. The acceptance of this contract will trigger a new Salesforce record.
- Webhook Access: Webhooks will be created on the Ironclad Clickwrap Site integrations page.
- Reference: Please see Ironclad Clickwrap's Webhooks documentation for the most up-to-date details on webhooks.
Salesforce Requirements
- Apex Classes: Visit Salesforce’s Apex Developer Guide for introductory resources.
Setup
Create a Custom Object in Salesforce
Within Salesforce, a new custom Object will hold new clickwraps records. Existing Salesforce Objects can be used.
Navigate to Setup > Object Manager to create a custom object called Clickwrap.
Within the new Object, add new fields to tie into the Clickwrap acceptance record. For this guide, add a new Created Date field with Date/Time data type and Company Name field.
Create an Apex Class in Salesforce
The next few sections will cover how to create a webhook listener within Salesforce. A webhook listener in Salesforce will expose an endpoint URL that will receive event messages from Ironclad Clickwrap.
Start by creating a simple Apex Class.
- Navigate to Salesforce > Setup
- Search for Apex Classes
- Create new a new Apex Class
- Copy and paste the code below for a simple Apex Class called webhookClickwrap
- Save and activate Apex Class
@RestResource(urlMapping='/api/webhooks/clickwrap/*')
global class webhookClickwrap {
    @HttpPost
    global static void clickwrap() {

        try{
            RestRequest req = RestContext.request;
            RestResponse res = RestContext.response;

        }catch(Exception e){
            System.debug('Exception Happened:' +e.getMessage());
            }

        }
}
Create a Public Site in Salesforce
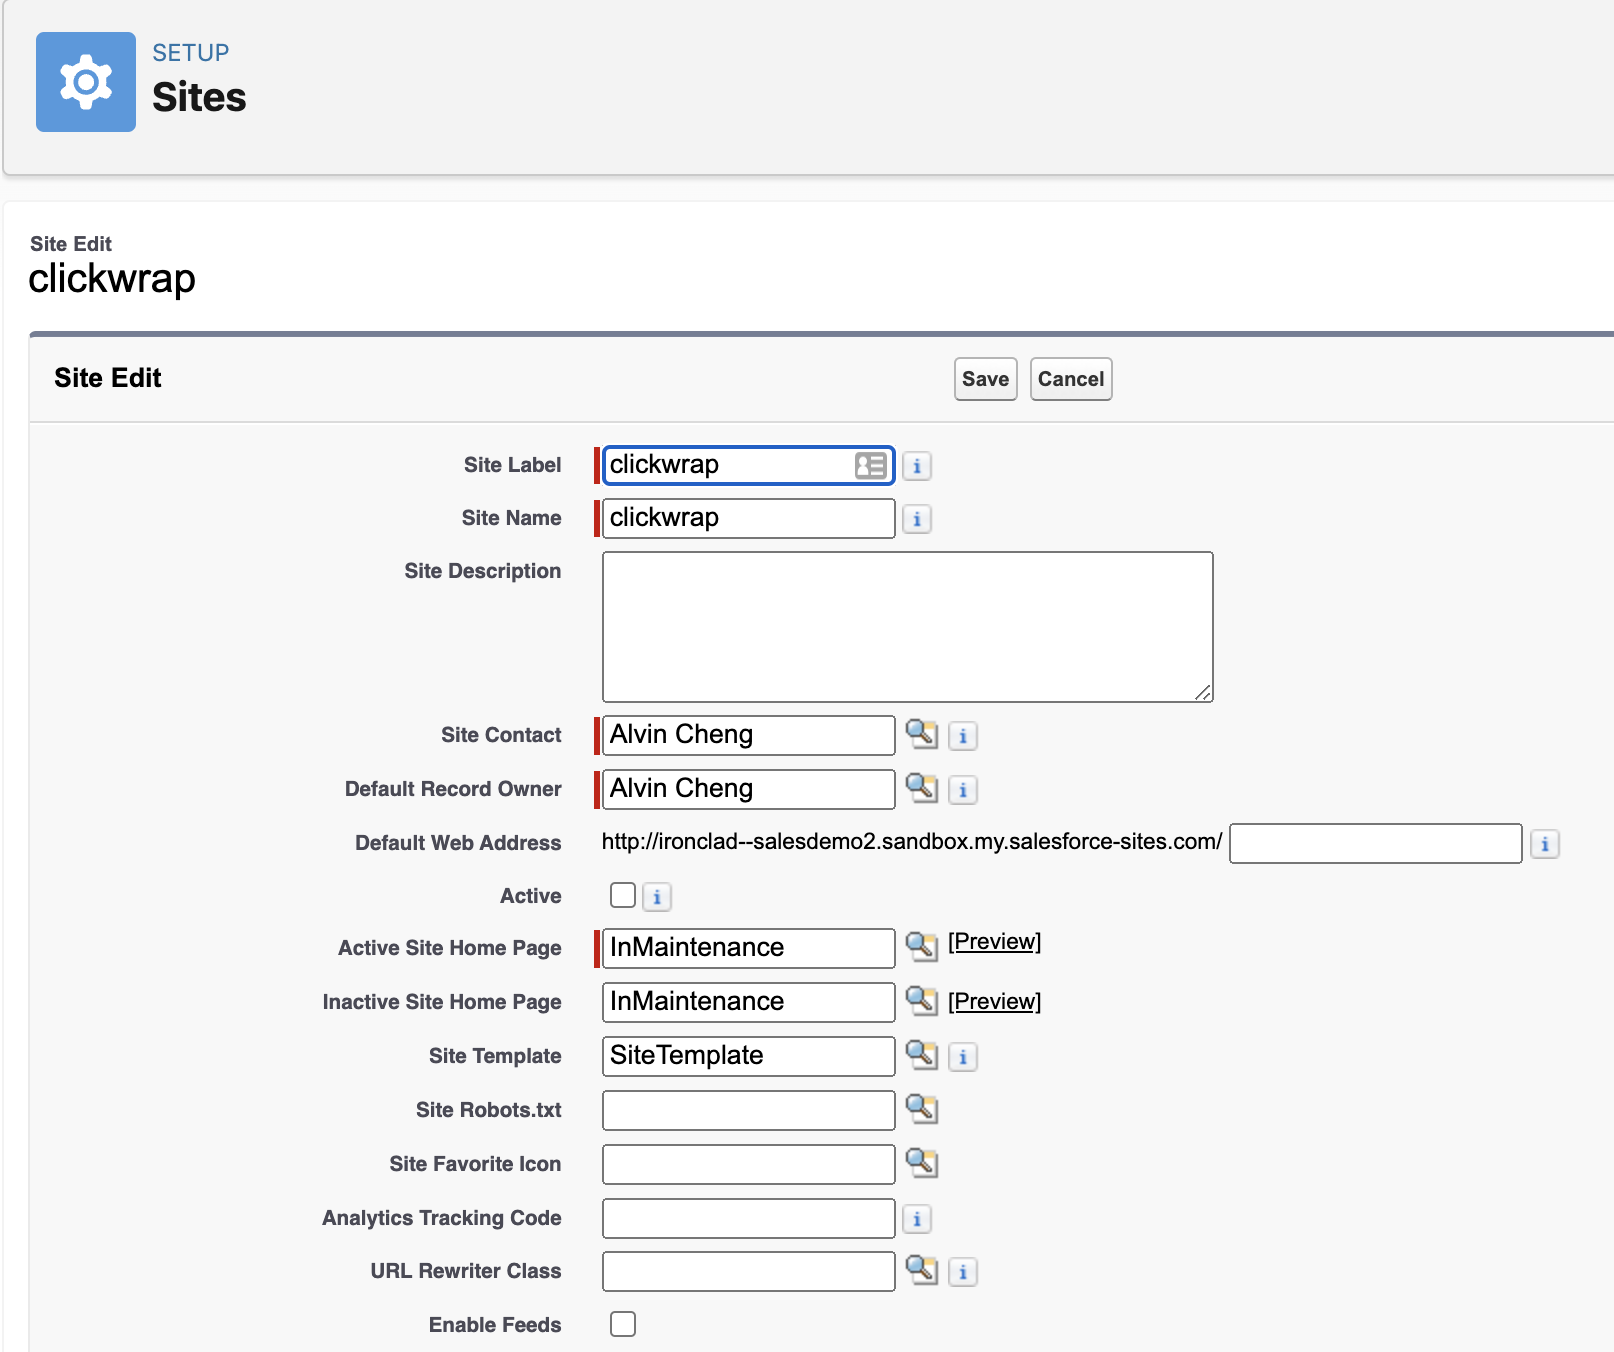
Next, you will need an active Salesforce Site. Salesforce Sites enables you to create public websites and applications that are directly integrated with your Salesforce organization.
- In Setup, search for “site” and select User Interface > Sites and Domains > Sites
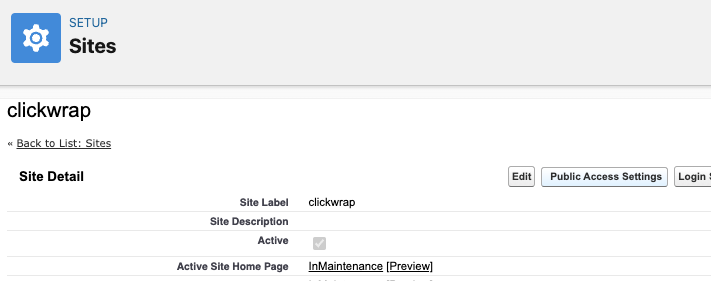
- Create a new Site and mark it as Active

- Within the new Site, click on the button for Public Access Settings

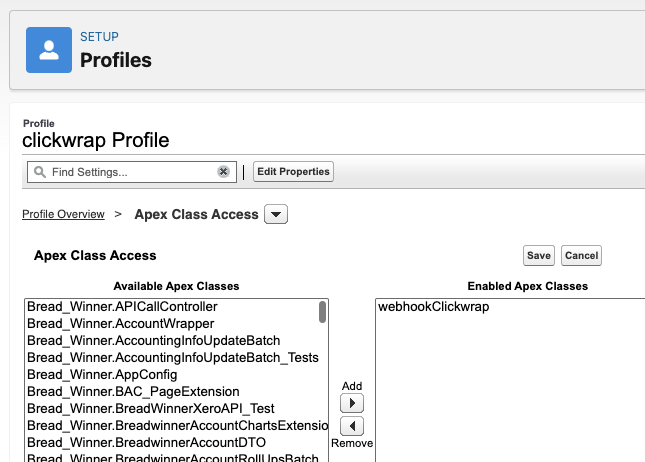
- Add the new webhookClickwrap Apex Class that was created in the prior sections into the Enabled Apex Classes.

- Save and click the Activate button to activate the site you have created. You will need the site URL for the next section.
Webhook Listener URL
After activating the Salesforce site, you can create the webhook URL.
The webhook URL consists of three parts. Combine all three to create the webhook URL:
- Salesforce site URL: Obtained from the previous section
- services/apexrest/
- ing] The u The urlMapping was set the Apex code which was api/webhooks/clickwrap/.
Here is the example webhook URL for this guide, "https://xx.sandbox.my.salesforce-sites.com/services/apexrest/api/webhooks/clickwrap/".
Create Webhook in Ironclad
Now, you'll want to set up your Webhook in Ironclad Clickwrap to talk to Salesforce. You can get to Webhooks in Ironclad Clickwrap by going to Settings > Integrations.
For this example, we're going to set up a Webhook for when any contract is agreed upon.
- Click "Add Webhook" in Integrations
- Paste in the URL from Salesforce in the previous section
- Use HTTP "POST" when setting up your webhook
- Select the toggle for "Activity - Agreed"
Process Data in Apex
After creating the Ironclad Clickwrap Webhook, Salesforce will now be able to receive the information on the agreed activity.
The agreed activity Webhook contains user information and any custom data. This can be used to populate the Salesforce record.
The sample code below will parse through the request body for custom data and a date field.
Then, a new record in the new custom object, clickwrap. The parsed data will then be used to populate into the fields of the new record.
@RestResource(urlMapping='/api/webhooks/clickwrap/*')
global with sharing class webhookClickwrap {
    @HttpPost
    global static void clickwrap() {

        try{
            RestRequest request = RestContext.request;
            RestResponse response = RestContext.response;

            Blob bB = request.requestBody;
            //iterate through JSON
            JSONParser parser = JSON.createParser(request.requestBody.toString());
            custom_data cus;
            String datetimeString;
            Datetime dt;
            while (parser.nextToken() != null) {
                if (parser.getText() == 'custom_data'){
                    parser.nextToken();
                    cus = (custom_data)parser.readValueAs(custom_data.class);
                    System.debug(cus);
                }
                if(parser.getText() == 'created_time'){
                    System.debug('Inside created_time');

                    parser.nextToken();
                    datetimeString = parser.getText();
                    dt = (Datetime)JSON.deserialize('"' + datetimeString + '"', Datetime.class);
                    System.debug('datetime'+dt);
                }
            }
            //Create new record in object and add details
            clickwrap__c detail = new clickwrap__c();
            detail.Create_Date__c = dt;
            detail.Company_Name__c = cus!=null?cus.company_name:'';
            detail.Name = cus!=null?cus.full_name:'';
            insert detail;
            response.statusCode = 200;
            response.responseBody = Blob.valueOf(JSON.serialize(new SFDCResponse('Success', 'Processed Successfully')));
            }catch(Exception e){
                System.debug('Exception Happened:' +e.getMessage());
                }
            }
        public class SFDCResponse{
            String response;
            String message;
            public SFDCResponse(String resp, String msg){
                response = resp;
                message = msg;
            }
        }
        public class custom_data{
            public String company_name;
            public String full_name;
            public custom_data(String company_name, String full_name){
                company_name = company_name;
                full_name = full_name;
            }
        }
    }
Updated 4 months ago
